Categories
How to switch from iPhone to Android
6 minute read
Are you making the switch from iPhone to Android? Switching everything over from iOS to Android can be a little tricky, so we’ve created a step-by-step guide to help make it as easy as possible.
Step 1: Back up data on Google Drive
Google Drive is the best way to transfer data from iPhone to Android. Just head to the app store and download the Google Drive app. Log in to your Google account (or create one), then head to Settings > Back Up and select the data you want moved to your new phone.
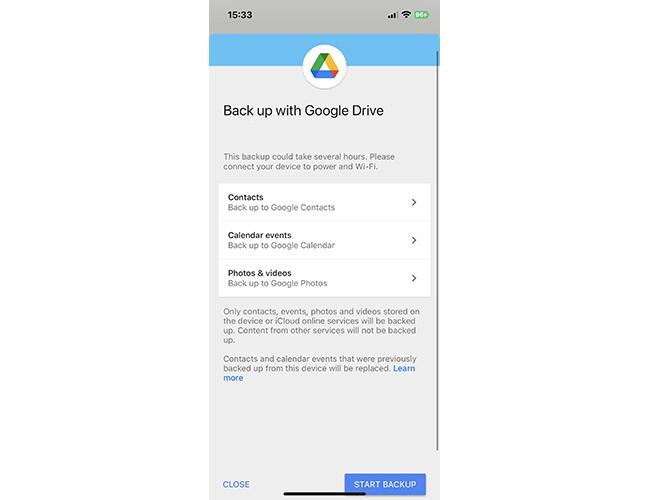
You can’t back up iCloud documents like this, so it’s best if you download those onto a computer and upload them to your Google Drive manually.
Top tip: Before you start backing up your data, give your phone a bit of spring clean. There’s no need to transfer old or unwanted photos and contacts.
Step 2: Back up or transfer your photos
When you switch from iPhone to Android, you’ll have the option to sync the two devices over Wi-Fi or cable.
However, having several gigabytes of photos can take hours and can delay you using your new phone. Also, if you use iCloud to store your photos, resetting your iPhone could potentially erase all of them.
The simplest way to transfer your photos is by using Google Photos. Just download the iOS version of the app and back up all the photos and videos you want to keep. Then, when your new phone is ready to go, all your photos will be waiting for you.

Step 3: Convert your contacts
Instead of individually copying all your contacts, there are two much quicker ways to do it. Take your pick:
Google Drive
Open the Google Drive app and head to Settings > Back Up and make sure ‘Back up to Google Contacts’ is toggled on. Then, when you open your new Android, all your contacts will be ready to use.
You don’t have the option to select which contacts to back up using this method, so make sure you delete unwanted contacts before you start the backup.
iCloud
Log in to iCloud on your desktop. Go to Contacts, select the gear icon, and choose Select All > Export vCard. This will download all your contacts onto your computer.
Then, log in to Google Drive > Contacts. In the bottom left of the screen, you’ll get an option to Import. Click that and select the vCard you just downloaded. Your contacts are now ready to go!
Top tip: Google Contacts has a ‘Merge and Fix’ option, which gets rid of any duplicates and makes sure all your contacts are up to date.
Step 4: Move your music
If you use Spotify or Apple Music, no need to worry. There are Android apps for both of those. All you have to do is download the app you use, log in, and you’ll be ready to go.
If you’re worried about losing music, you can connect your iPhone to your computer and use the drag-and-drop method to store everything before manually transferring it onto your new Android.
Step 5: Sync your iPhone and Android
Everything is backed up now, so it’s time to set up your new Android.
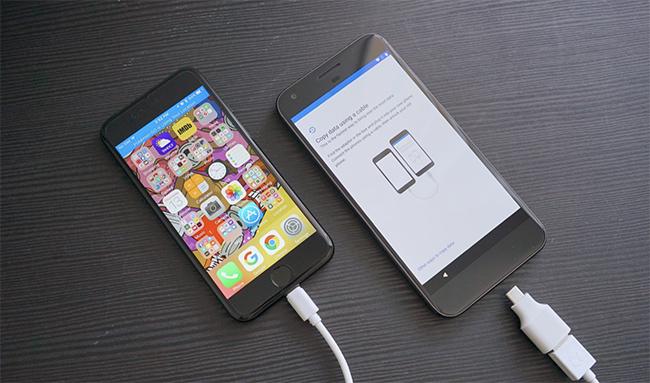
After you’ve set up the date, language, etc., you’ll have the option to sync your old phone and your new phone. You can either use a cable connecting the two phones or you can connect them over a shared Wi-Fi network.
As you’ve backed up your data, the transfer shouldn’t take too long to complete. Your Android phone can detect all the iOS apps you have and will offer to download all the available Android equivalents into your App Drawer automatically.
Step 6: Sign in and download apps
If you’re importing your apps from iOS to Android, make sure you compare your apps on both phones to make sure they were all transferred properly. If they weren’t, you’ll need to head to the Android app store and search for them there.
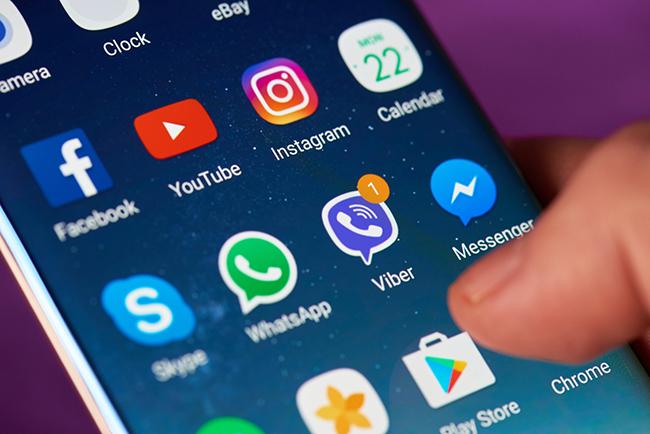
Some apps are exclusive to iOS, so they won’t be available on the Android app store. You’ll need to look for equivalents, but don’t worry, there’s an app for almost everything these days.
Top tip: Any app that you paid for on your iPhone will not transfer automatically and you will probably have to pay for it again on the Android app store.
Step 7: Sync your browser bookmarks
If you’ve been using Chrome on iOS, you won’t need to worry about this, as you can just log in on your new device.
But, if you use the iOS app Safari, there are a couple of steps you need to take so your bookmarks make it onto your new device.
Safari will sync with the desktop version, so you’ll need to open that and choose File > Export > Bookmarks. You can then import them into desktop Chrome, which will sync with Chrome on your new Android device.
Top tip: Exporting your bookmarks will not export your saved passwords or autofill entries, so be sure to make a note of all of them.
Step 8: Disable iMessage
If you switch your phone number and SIM card over to an Android without switching iMessage off, your new phone might have trouble receiving texts from iPhones.
In your iPhone, go to Settings > Messages and toggle the iMessage option to ‘Off’, and do the same for Facetime. Now, you won’t miss messages or get into any mix-ups.
Step 9: Erase your iPhone
If you’re selling or giving away your phone, it’s important you do these two things:
Turn off ‘Find My Phone’
If you don’t turn off ‘Find My Phone’, the next owner won’t be able to use it, so it’s best to make it one of the last things you do before getting rid of your old device. Just go to Settings > Profile > Find My Phone and toggle everything off.
Erase your iPhone
Leaving any of your personal data on your phone could be a disaster. Before you completely erase and reset your iPhone, make sure you double check that you’ve transferred absolutely everything you need to your new Android device.
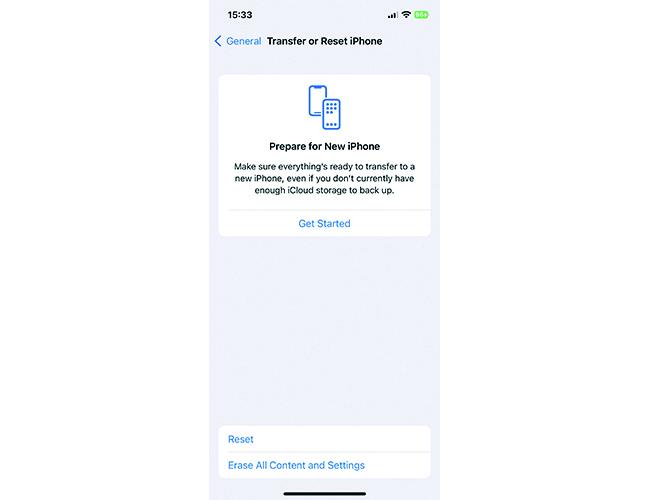
To erase and reset your iPhone, go to Settings > General > Transfer or Reset iPhone > Erase All Content and Settings.
What now?
That’s it!
You should now have your new Android phone up and running and ready to use.
If you’re stuck on what to do with your old iPhone, check out our recycle scheme to make sure your old phone gets recycled in the right way.


