Categories
How to switch from Android to iPhone
5 minute read
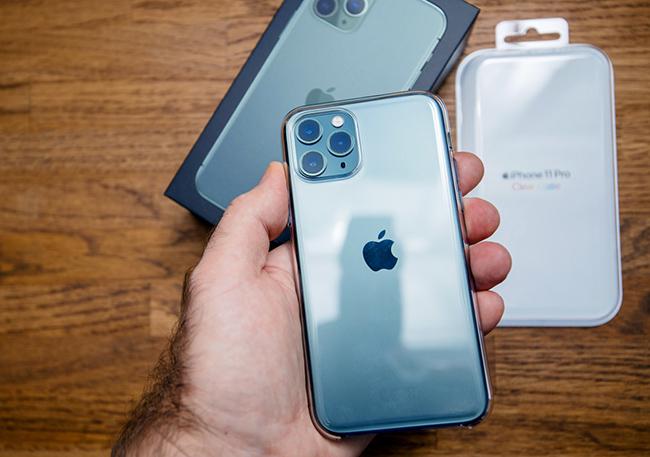
Are you looking to make the big switch from Android to iOS? Switching everything over from an Android to an iPhone can seem daunting, so we’ve created a step-by-step guide to help make the switch as easy as possible.

Step 1: Back up your data
It never hurts to back up your data just in case anything goes wrong. And if you’re switching from Android to iPhone, consider Google Drive your best backup buddy.
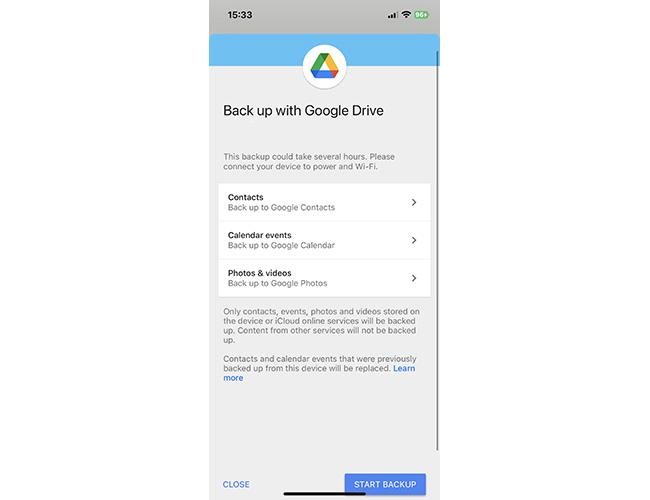
Open up your Google Drive and save a backup of all your downloads, documents, photos and contacts. When your iPhone is ready to go, you can simply download the Google Drive app and everything will be waiting for you.
Top tip: Before you start backing up your data, give your phone a bit of a spring clean. There’s no need to transfer old or unwanted photos and contacts.
Step 2: Prepare your devices

Android
You’ll need to make sure there’s nothing to interrupt the transfer of all your data. Even getting a phone call will immediately cancel the transfer. Settle yourself down somewhere with a secure wifi connection, and connect your phone to a power source to ensure the transfer runs smoothly.
Switch your phone to Do Not Disturb, and make sure your Mobile Data is toggled off to avoid any interruptions.
Now, all that’s left to do is download the Move to iOS app and make sure you’re connected to Wi-Fi.
iPhone
Your new iPhone will have to be completely free of data, or the transfer won’t work. So, if you’re not sure if there’s anything on the iPhone, it might be a good idea to factory reset it, just in case.
Start setting up your iPhone, and when you get to the ‘Apps & Data’ screen, tap ‘Move Data from Android’. Your iPhone will create a private Wi-Fi network between your Android and iPhone.

Step 3: Pair your phones
On your Android, open the Move to iOS app and follow the instructions until you get to ‘Find Your Code’. Then, tap ‘Next’.
On your iPhone, there should now be a code for you to enter into Move to iOS. It’s just like Bluetooth; once you’ve entered the code, your devices will pair together.
Step 4: Start the transfer
Move to iOS will give you a list of data available to transfer to your new iPhone. They’ll all be ticked for transfer by default, but you can opt out of any of them.
Apple will automatically search for iOS equivalents of any Android apps you have and download them for you. But you should manually check to make sure they’ve all transferred over properly.
Remember, you can’t open any apps or navigate away from Move to iOS or it will immediately cancel the transfer and you’ll have to start over.
Top tip: Any app that you paid for on your Android will not transfer automatically and you will most likely have to pay for it again in the Apple app store.
Step 5: Compare your phones
You’ll want to make sure everything has transferred from your Android to iPhone correctly before you erase your Android.
Check all the data categories, including chat histories and contact lists, to make sure nothing is missing.
Top tip: Make sure you pull all your passwords from your Android before you erase it, as these won’t be included in the data transfer.
Step 6: Transfer the rest of your data
Move to iOS doesn’t transfer books, PDFs or cloud documents; you’ll have to move them manually.
Plug your Android into a computer and drag across all the remaining data you want to save. You can then plug the iPhone into the computer and export all that data to your new phone.
If you use Spotify or Apple Music, you’ll be pleased to know that all your music will be sitting there waiting for you when you download the apps. However, if you use a smaller music platform, you may have to manually transfer them.
Step 7: Install the remaining apps
As we said, any app that you paid for on your Android will not be automatically transferred, and there may be some apps that aren’t available as an iOS version.
You’ll have to go into the Apple app store and download replacements for all your paid-for apps, which you’ll have to pay for again.
You may also have some apps that are exclusive to Android, or that are outdated on the latest iOS system. You’ll have to look for equivalents, but don’t worry, there’s an app for almost everything these days.
Step 8: Erase your Android
If you’re selling or giving away your phone, it’s important to do this.
Leaving any of your personal data (especially passwords) on your phone could lead to a minor disaster. Before you completely erase and reset your Android, make sure you double check that you’ve transferred absolutely everything you need to your new iPhone.
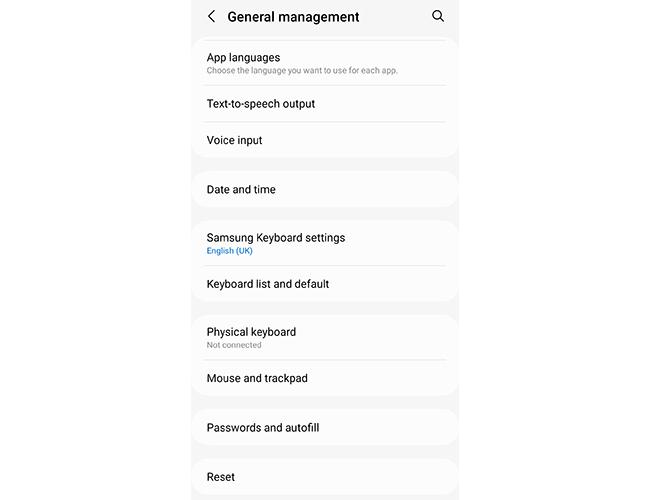
How you erase your Android varies slightly between make and model, but in general, you should find it at Settings > General/System > Reset > Erase
What now?
That’s it!
You should now have your new iPhone up and running and ready to use.
If you’re stuck on what to do with your old Android, don’t worry. Here at giffgaff, we’ll give you money for your old phone and refurbish it to give it a new life. Check out our recycle scheme to find out how it works.


