Categories
How to get Android apps running on your laptop
7 minute read
A decade ago, Android was first released for smartphones. Since then, Android has turned up on plenty of other devices, including tablets, smartwatches and smart home appliances. You can even install Android on your laptop… and in this article, we’ll show you how!
First of all though, why would you actually want to do this? Well, because Android is designed to work even on low-end phones with limited processing power, you can run Android at full speed even on old or slow laptops, where Windows might struggle.
This makes Android a good way to reuse an older machine. It’s also a fun and convenient way to try out the millions of apps and games available on the Google Play app store.
If you want to try out Android on your laptop, it’s not too difficult to get started. Most hardware, including wireless cards and USB peripherals, will work out of the box, and you can control what’s going on with your laptop’s built-in touchpad and keyboard.
This article will walk you through the process, from downloading a recent version of Android all the way through booting up Android for the first time.
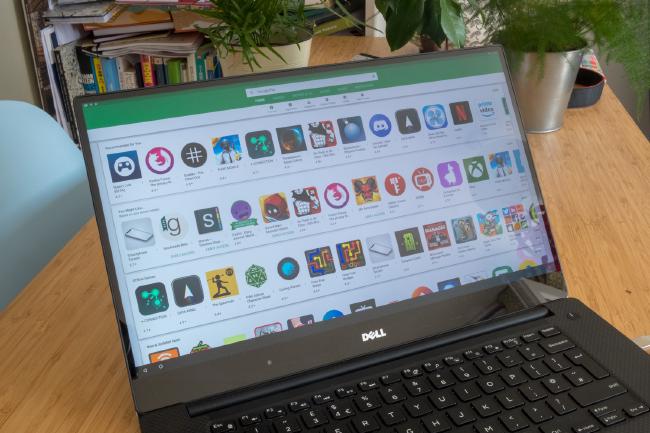
All you need to get started is a laptop, a USB storage drive and Wi-Fi. I’m using an XPS 15 9560 laptop for this guide, but many other laptops will work just as well.
Of course, the process isn’t risk-free. As we will be installing a new operating system, it’s possible to take a wrong turn and erase what’s already on your laptop. That makes it a good idea to back up any important data beforehand, and proceed through the instructions carefully. We’re not responsible for any damages you might suffer as a result, so proceed with caution. With that disclaimer out of the way, let’s begin.
Step 1: Download Android x86
We’ll begin by downloading the Android x86 ISO file to our computer. You needn’t download this on the laptop you’re going to install Android on; any computer will do.
At the time of writing, the most recent version is Android x86 7.1, with a build date of May 3rd, 2018. (An alternative version, CM 14.1, is also available but falls outside the confines of this guide.) Simply click the ‘View’ link on one of the .iso files listed; we’ve chosen the one titled ‘android-x86-7.1-r2.iso’ for the sake of simplicity.
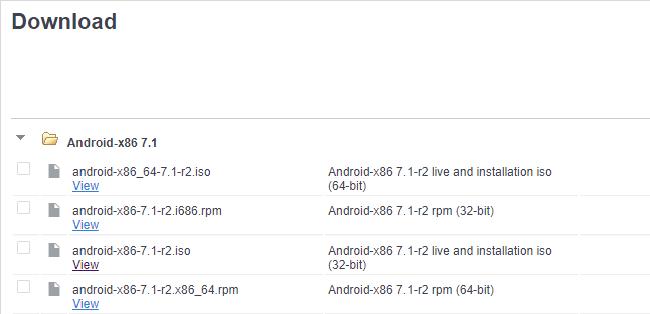
The file will take some time to download, and for us weighs around 700MB.
Step 2: Download Rufus
Now we have to turn the ISO file we downloaded into a bootable USB drive. In our original guide on this topic, ca. 2012, we suggested using the app UNetbootin to prepare our USB drive. This app will probably still work fine, but we will use the more modern Rufus app instead.
Once Rufus is downloaded, insert your USB drive and then run the Rufus app. Your USB drive will be COMPLETELY ERASED by what we’re about to do, so ensure that you have copied off any important data before you begin.
Now, press the SELECT button near the top of the screen to choose the Android x86 ISO file you downloaded earlier. Then, confirm that your USB drive is shown as ‘Device’ near the top of the screen.
You can keep all other options at their default values, so just go ahead and press the START button near the bottom of the screen when you’re ready.
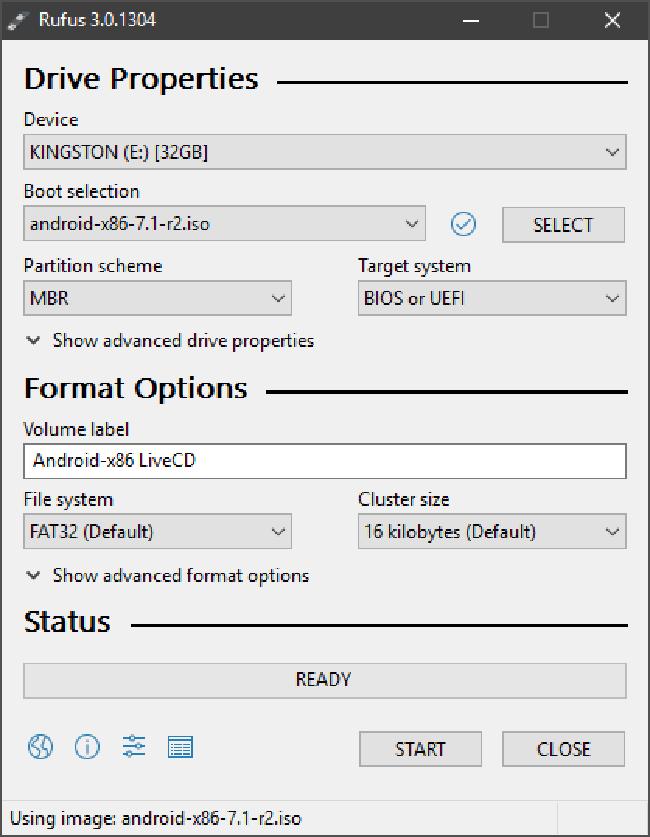
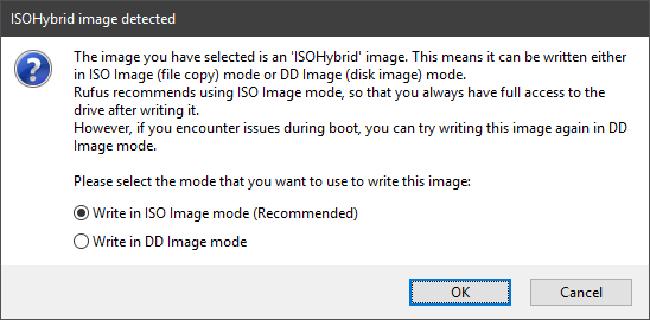
You will be asked to choose ISO Image mode or DD Image mode; select the Recommended ISO Image mode setting and hit OK. You will be warned that all data on the drive will be destroyed; again hit OK.
Once the process is complete, a dinging noise will sound and the drive will be remounted with the title ‘ANDROID-X86’. Now you’re ready to insert this drive into the laptop that you want to install Android on.
Step 3: Boot the Android x86 installer from the USB drive
Now we need to simply plug the USB drive into our target computer and turn it on. If your laptop boots up straight into its standard operating system, restart it again and this time try pressing a key to enter the BIOS or the boot menu. Usually, this is a key like Delete, F1, F2, etc. If you’re not sure which key it is, try pressing all of them or looking it up online with a Google search for the name of your laptop plus “BIOS key”.
Once you’re in the BIOS, you need to look for a section labelled Boot Priority or Boot Order. Then, set the USB drive as the top priority, ahead of your laptop’s internal hard drive. This process is different between different laptops, so you may need to consult the internet or your computer’s manual to find this information.
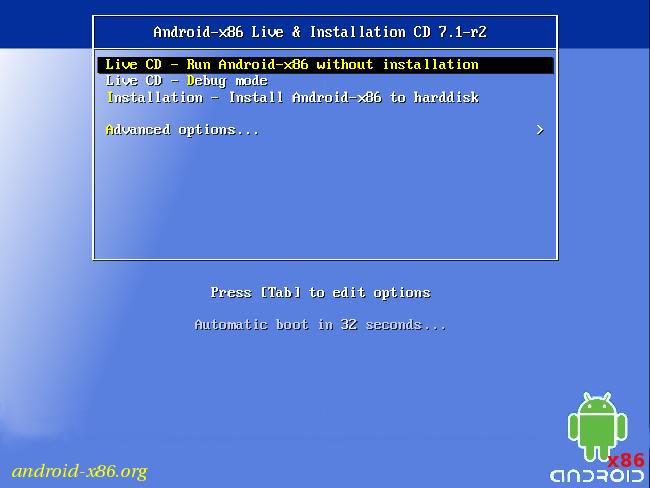
Once you’ve correctly booted from the Android x86 installer, you should see a blue screen, giving you two options. Firstly, you can run Android x86 in a kind of test mode, allowing you to check out its functionality without installing it first and wiping your laptop’s existing data. This is helpful for making sure your keyboard, mouse, Wi-Fi and screen work as they should, but performance is normally not as good as a proper install.
In our case, things worked pretty well - touch inputs on the 4K display worked perfectly, all nearby Wi-Fi networks showed up and the keyboard and trackpad worked as expected. The only issue was that Google Play services crashed during the initial setup process, but this didn’t have an noticeable effect. Hurrah!
With everything working, we can go onto actually installing Android. Restart your PC, and this time select the ‘Install Android x86’ option.
Step 4: Install Android x86
After choosing to install Android x86, the first thing that you get is a slightly scary looking prompt that asks you to Create/modify partitions or Detect devices. Select Create, then select the default option (‘No’) for the GPT question.
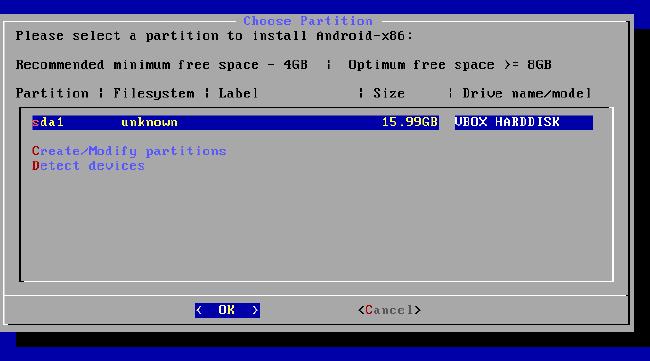
If you’re happy to wipe your laptop completely, simply delete all partitions and then create a new partition.
If you’d like to keep your data, you can also choose to install to an existing Windows partition and then choose between Android and Windows when starting your computer.
In our example, our hard drive is already wiped, so we’re going to simply select New > Primary > and keep the default size, which in our case is the entire drive.
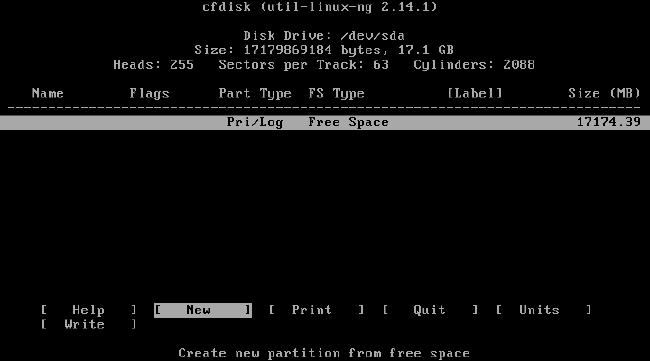
Press Enter on the Bootable option, and you should see text saying Boot appear under Flags.
Now scroll all the way to Write and press enter on your keyboard. Type yes and press enter again to confirm.
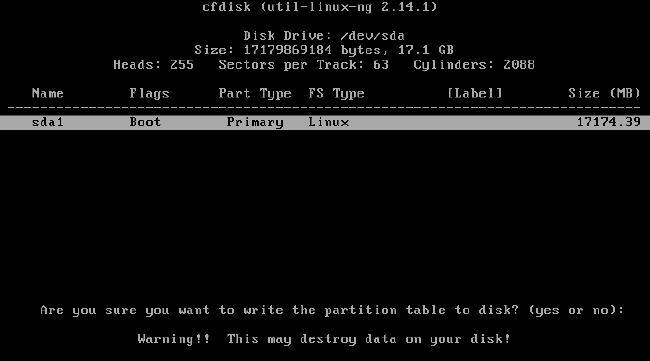
After a short delay, you’ll be back to the original screen. Now, move all the way to Quit and press enter one more time.
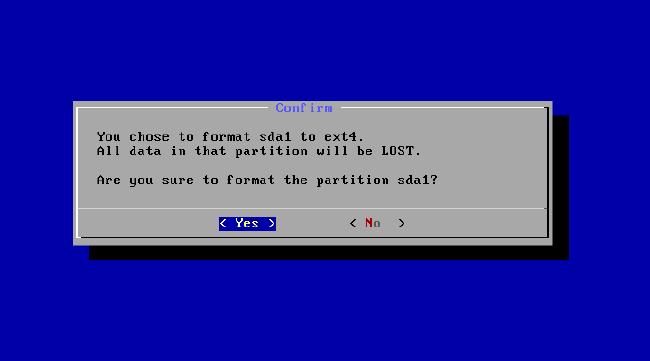
You’ll be prompted to choose a partition for Android x86; just hit OK to choose the partition you just made and then ext4 for the filesystem choice.Again, you’ll be prompted to confirm that you want to format the partition. Hit Yes, then wait a moment for the partition to be formatted.
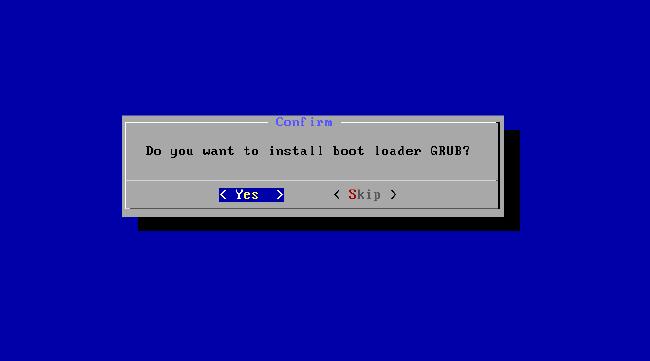
Answer Yes when asked if you want to install boot loader GRUB…
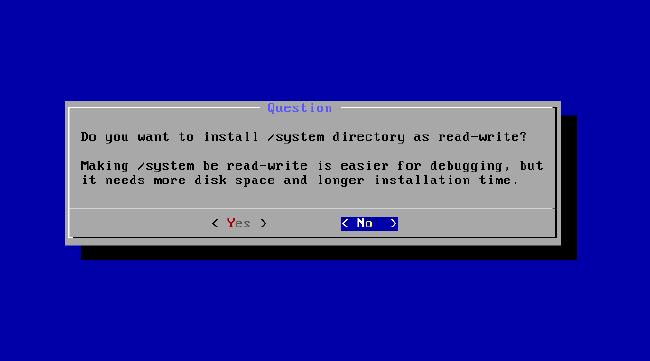
…and Yes again to ensure the /system directory is writable.
Wait a slightly longer time, and you’ll be greeted with good news: Android-x86 is installed successfully! Select Run Android x86 to start it up.
Step 5: Run Android x86
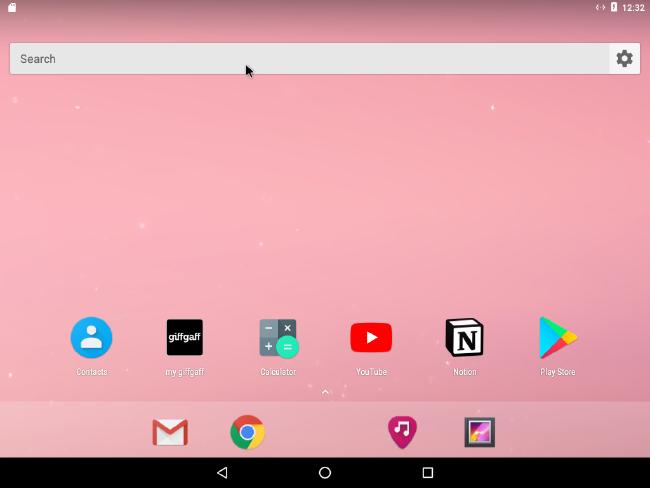
Hurrah! We’ve made it! Go through the standard Android first-time setup process, signing into your Google account, choosing a language and so on. It’s worth setting up your laptop as a new device to save a bit of time.

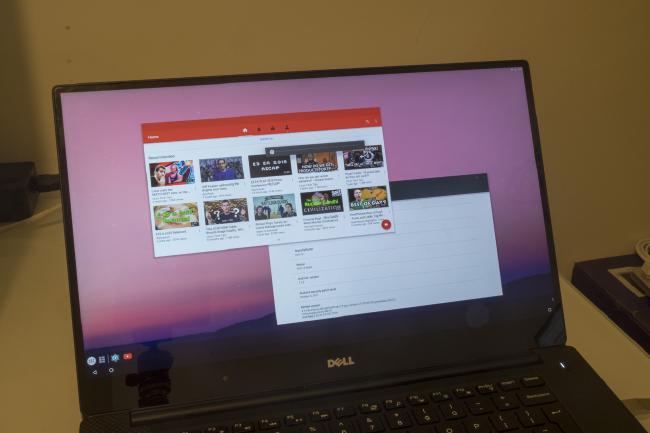
Feel free to check out the apps that come with the installation, adjust all of your settings and download more apps from Google Play. Hopefully everything will run smoothly!
If you do face issues, it might be worth trying a different Android x86 ISO from the download page we saw in step 1, adjusting any relevant options in your BIOS.
Android doesn’t support all laptops out of the box, so it might not be possible to fix all problems, but hopefully you’ll be one of the lucky ones!
Wrapping up
That brings this guide to a close. Thanks for checking it out!


